

Lighting your bee smoker is an important part of beekeeping, as it helps to calm the bees and make them less aggressive when working with the hive.
Here’s a step-by-step guide on how to light a bee smoker:
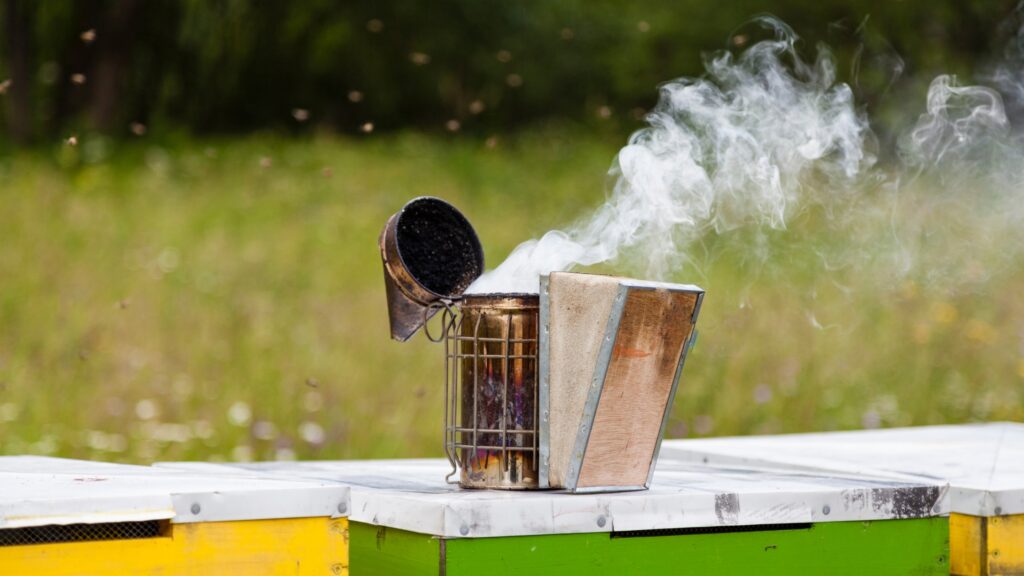
- Start by gathering the necessary materials. You’ll need your bee smoker, some fuel (such as dry leaves, pine needles, or burlap), and a lighter or matches.
- Next, load the smoker with your chosen fuel. Fill the smoker about halfway, leaving enough room for air to circulate and help the fuel burn. Keep some more fuel close by.
- Light the fuel using a lighter or matches. Hold the flame to the fuel until it starts to catch and smolder.
- Once the fuel is burning, pump the bellow repeatedly to encourage a healthy flame to build.
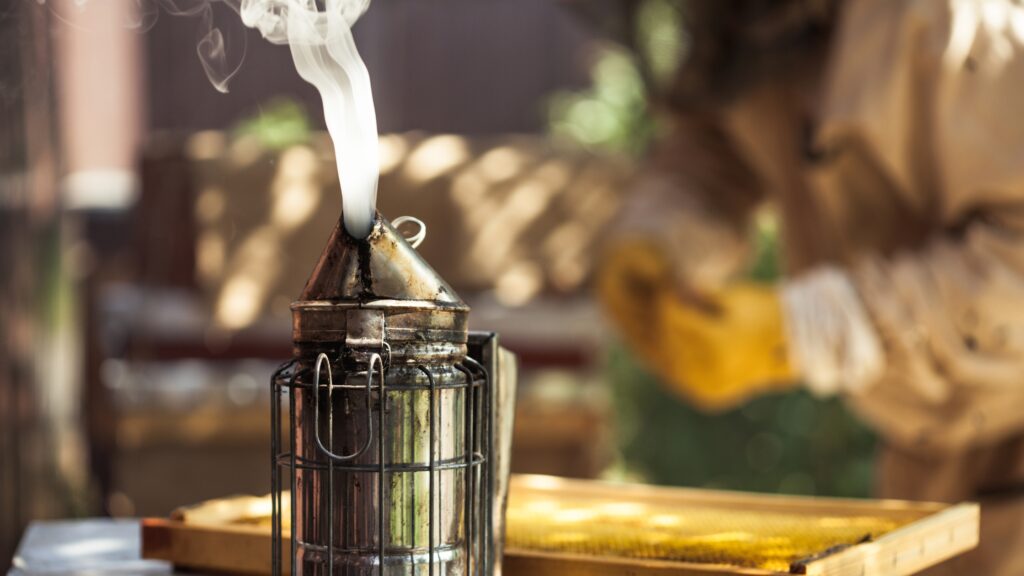
- Once the flame is well set, add some more fuel loosely to fill the rest of the smoker. A thick white smoke should begin.
- Once the smoker is producing a steady stream of smoke, you’re ready to use it. Make sure the smoke is “cool” so you are not puffing flames or high heat into your hive.
- Hold the smoker close to the entrance of the hive, and slowly puff some smoke into the hive. Remove the outer and inner covers and puff some smoke into the top of the hive. Use smoke as needed to move the bees or calm down any aggressive behavior.
Lighting a bee smoker is a simple process that requires only a few basic materials and tools. By following the steps outlined above, you can easily light a smoker and use it to calm the bees when working with the hive.
